This is what you'll need to create button initial art:
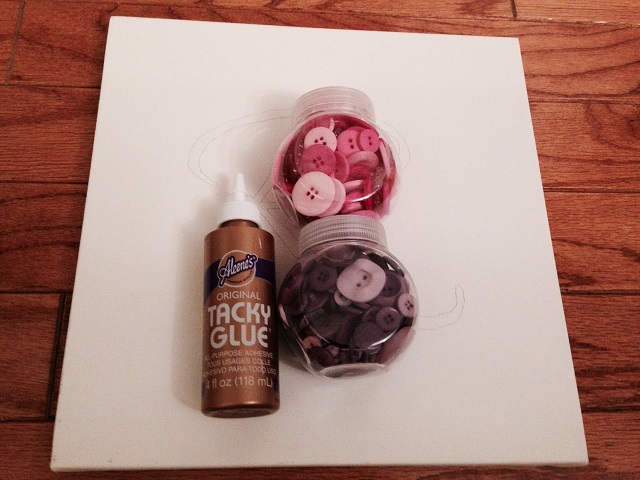
- Canvas. Canvas is available in any craft store, and the most common sizes for wall art are 8 x 10 inches, 11 x 14 inches, or 16 x 20 inches. I liked the contrast of the plain white canvas against the purple and pink buttons, as well as against the purple walls of the nursery. However, you can paint or spray paint your canvas first if you'd like a colorful background. Just remember to use clear glue for the buttons if you do.
- Glue. I used Alene’s tacky glue. It dries white if you put too much on, so if you’ve chosen to paint your canvas, you’ll want to use gel glue or a glue gun, so all the glue is clear when it dries.
- Button assortment. For a layered look, use different colors and sizes.
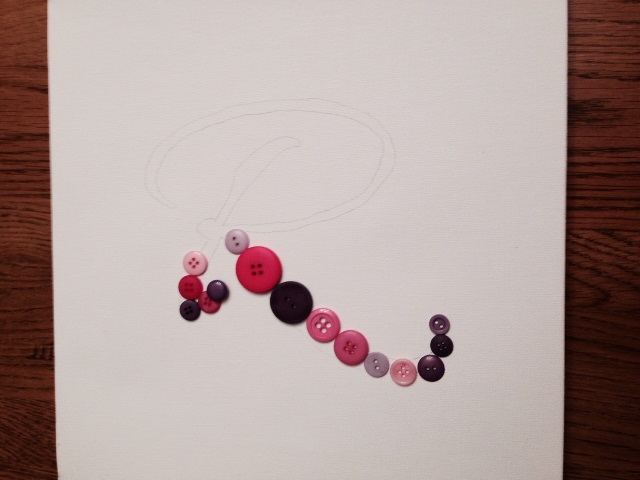
Step 2. Trace the letter onto the canvas. If you have steady hands, you can simply copy the letter onto the canvas. If you'd rather trace it, then you'll have to print out the letter. It may take you a few tries with the printer before you have the letter sized correctly for the canvas space. I promise, after this part, it's all easy! Now, trace the letter onto the canvas with light pencil strokes.
Step 3. Create your button design. Lay the buttons out first on the penciled-in letter before you start gluing them down. This way, you can see where you'd like the buttons to go. Play with colors and sizes until you've found a look that you love. Once I knew what I wanted, I snapped a quick pic on my phone so that I'd remember what it looked like if I bumped the buttons out of place. For my canvas, I used pink and purple for a girl's room, but there are plenty of color combinations that you can use to match your nursery decor.
Step 4. Attach the buttons. Now you can start gluing the buttons down. Put a small amount of glue on the back of each button, then press it down firmly on the canvas. Wipe away any excess with a Q-Tip. The glue will dry quickly, so if you want to adjust the placement, be sure to do so right away.
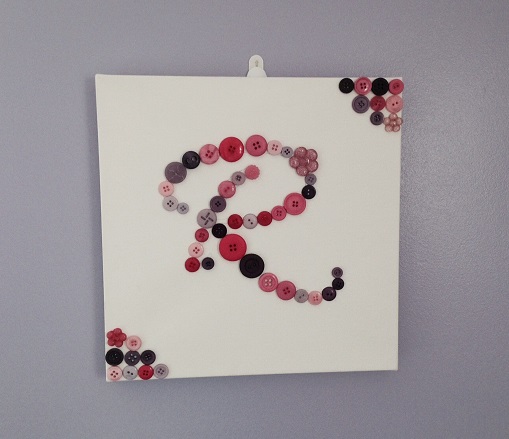
Step 5. Add the finishing touches. I added some small adhesive gems to put in the spaces created between the buttons. You can also glue down tiny, multi-colored beads.
Now, you can hang your new creation in your baby's nursery!